)
UNAVCO Trimble NetRS Campaign Kit
UNAVCO Trimble NetRS Campaign Kit
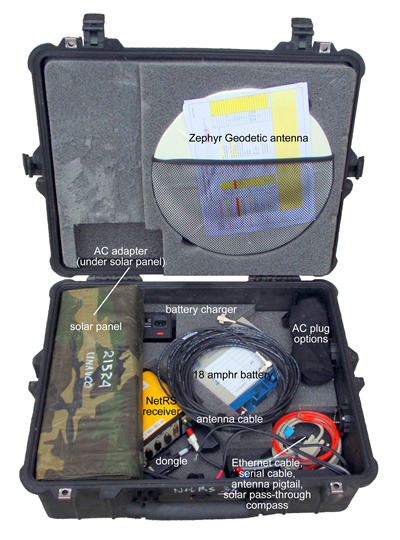

UNAVCO’s Trimble NetRS campaign GPS kit is ideal for long-term campaign installations but works for short-term installations as well. The NetRS receiver can be accessed via an http interface; data can be downloaded via ftp; and upwards of 7 years of data collected at a 15 second sample rate can be stored on the internal memory. There is no display; lights indicate receiver status. ANTENNA MONUMENTATION AND MOUNTS MUST BE REQUESTED SEPARATELY. See "Additional Resources" at the bottom of the page. Product info is given after each component for those who want to build their own systems. Cost to build the system shown here sans the GPS equipment, battery, battery charger, and solar panel: $339.48.
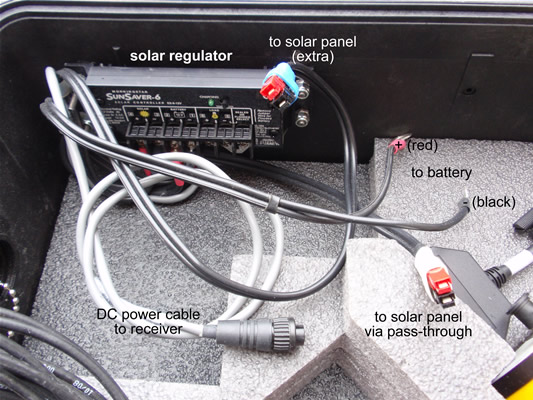
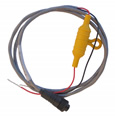
View of solar regulator and power cables, front right corner of the box.
Components
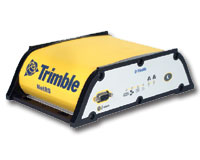
NetRS receiver, Trimble - Records GPS data received via the antenna. Product info: No longer available for purchase.
Trimble NetRS Resource Page (includes e.g. software, firmware, and how-tos)
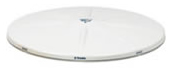
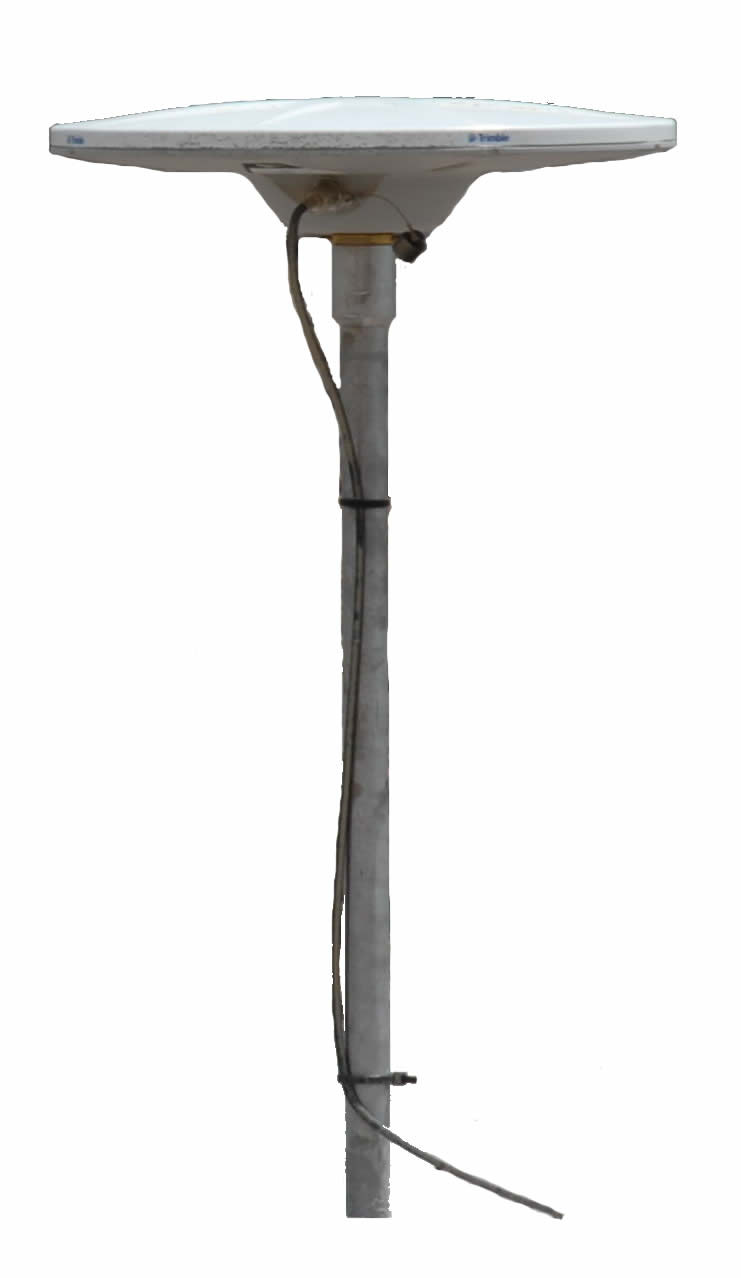
Zephyr Geodetic antenna, Trimble - Receives GPS data and transmits data to the receiver. Included with receiver purchase.
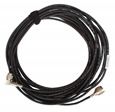
antenna cable (10 m N-TNC) - Transmits the data from the antenna to the receiver. Connect the 90-degree connector (if there is one) to the antenna and the straight connector to the antenna port (see below). Do not kink the cable; when coiling the cable, do not coil it around your hand and elbow. Included with receiver purchase.
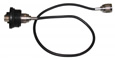
antenna pigtail (N-N) and port - Used to connect the antenna cable to the receiver via a weatherproof connection. Screw the port into the case and the free end of the pigtail into the antenna port on the receiver. Cablenet, 0.5 M Antenna Cable TNC to TNC, $20.
dongle - Needed to connect the NetRS to an Ethernet cable and/or AC power. Included with receiver purchase.

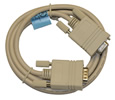
Ethernet cable - Used to communicate with the NetRS via a computer. Connect either end to the dongle (above) and the other end to your computer. Note that both cross-over and straight Ethernet cables will work with the NetRS, but not necessarily with your computer. Included with receiver purchase.
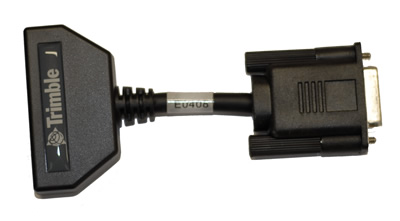
serial cable - Used to connect the receiver to a computer for troubleshooting and/or setting the IP address if you do not know the IP address or if the receiver is set to DHCP. Connect this cable to a computer (you may have to use a USB-to-serial adapter if your computer does not have a serial port) and to port 1/service port of the receiver (front port). Included with receiver purchase.
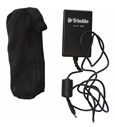
AC power adapter - Used to connect the receiver to AC (outlet) power. Connect this cable to a power outlet via the appropriate adapters from the accompanying bag, and to the receiver via the dongle. The AC power adapter should operate at a range of 110-220 V, that is, it should work internationally. Included with receiver purchase.
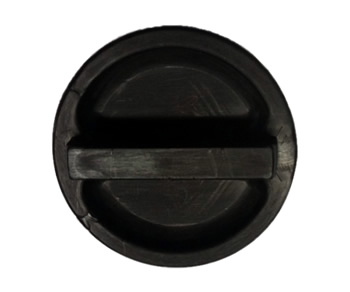
DC power cable - Used to connect the receiver to DC (battery) power. This cable is already connected to the solar regulator; connect the free end to the receiver’s power port after the battery has been attached to the solar regulator by aligning the plug with the port, pushing the plug in, and rotating the ring on the plug a quarter turn clockwise. The receiver will power up automatically. To disconnect, rotate the ring a quarter turn counterclockwise and pull straight out. Included with receiver purchase.
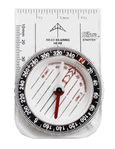
compass - Used to align the GPS antenna to true north.
How to use declination to align the GNSS antenna to true north
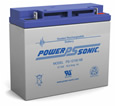
18 amp hr battery (12 volts) - Will power the receiver and GNSS antenna for approximately 2 days in optimal conditions. Battery life decreases significantly in cold weather. Do not allow conductive material (e.g. a piece of metal) to contact both terminals at the same time as this will short the battery. PowerSonic PS12180NB, $52.
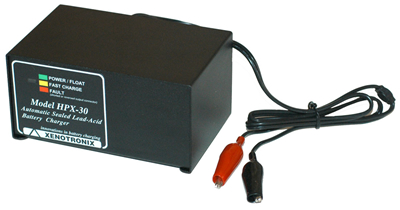
battery charger - Will completely recharge a battery at 11 volts (the shut-off voltage for the receiver) in several hours. Make sure the switch on the back is showing the appropriate voltage for your region (e.g. 120 volts in US, 240 in most of Europe). If the battery charger fails, check this switch and change the fuse as needed. Connect the cable to the battery terminals (red alligator clip (connector) to the red/positive terminal and black clip to the black/negative terminal). Do not allow the connectors to touch each other when the charger is plugged in. Xenotronix HPX 30-12C200, $90.00.
solar panel - Charges the battery when there is sufficient sunlight. Will maintain a 12+ volt charge on the battery. With 12 hours of daylight, the 18 amp hr battery and the solar panel should provide a sustainable power source for an extended period of time (weeks to years). e.g. GSE Sunlinq SL-25 25 Watt 12v Flexible Solar Panel, Affordable Solar, $309.00.

solar pass-through - Used to connect the solar panel to the solar regulator via a weatherproof connection. Screw the middle connector into a port on the box; connect the solar panel to one end and the leads to the solar regulator to the other.
Product info:
 Feed through Assbly Part# 41215-00 Rev 4, Cases Plus, Inc., phone # 800-982-1880, $15 each, 3 pcs. needed = total $45.00
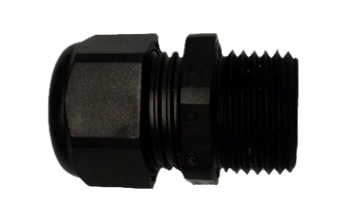 Half-inch Cable gland fitting Part #CD13NA-BK-N-O, Home Depot electric dept., $3.68 each
 Red and black power connector Part # 1330, C.W. Distribution Inc., phone #
218-525-2205, $0.80 each
Red and black power connector Part # 1330, C.W. Distribution Inc., phone #
218-525-2205, $0.80 each
How to make: Remove center material of screw cap with 1-inch wood bit down to flat base. Drill through with ¾ drill bit and tap with ½ NPT to make threads.
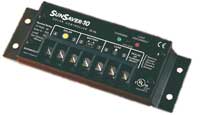
solar regulator - Regulates the power from the solar panel to the battery and the battery to the receiver. All power cables are already connected to the solar regulator (see photo, above). Connect the lead from the solar pass-through (above) to the lead on the regulator. Connect the battery leads to the battery terminals (red ring terminal to red/positive terminal, black ring terminal to black/negative terminal). After the power sources are connected, connect the DC power cable to the receiver as described above. Morningstar SunSaver 6 - without LVD; $50.00 each.
Pelican case - Houses equipment for shipping and transport; protects equipment in field deployments. Weatherproof. Pelican case model 1600, no foam inserts, CPD Industries, $115.00 each.
foam inserts - Protects the equipment from jarring during transport and provides some insulation to temperature fluctuations. NetRS System case foam inserts, upper and lower, $125.00 each.
Additional Resources
UNAVCO Resources: GNSS Station Monumentation
Geodetic monuments and markers; this is principally a resource for permanent station monumentation but includes campaign options as well.
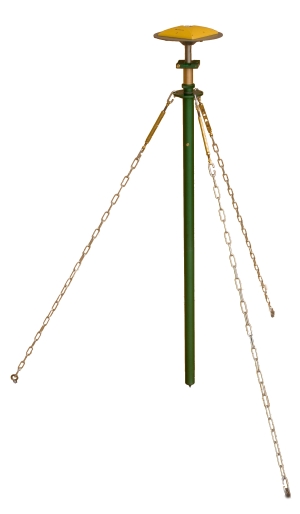
UNAVCO Resources: GNSS Antenna Mounts
An antenna mount is used to couple the GPS/GNSS antenna to the survey point. Different mounts are appropriate for different survey types.