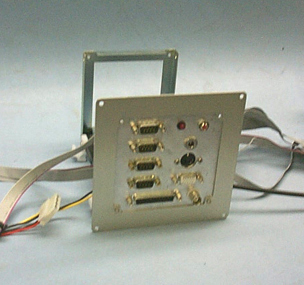
 Front view of the frame casing for the PC/104 system.
To see an enlarged version of a picture, right-click on it and select "View Image."
 Front view of the frame casing for the PC/104 system.
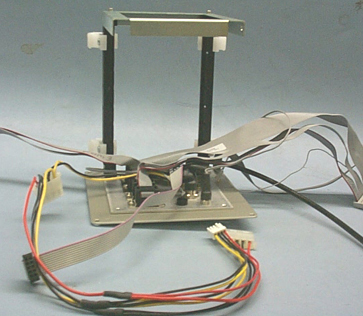 Top view of the frame casing for the PC/104 system.
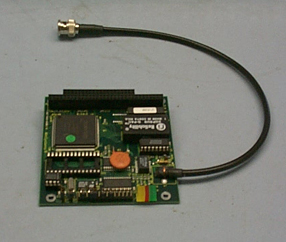 10 base 2 ethernet board.
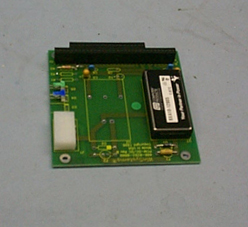 DC to DC converter.
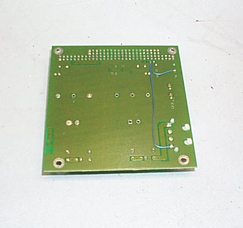 Modifications done to the back of the DC to DC converter board.
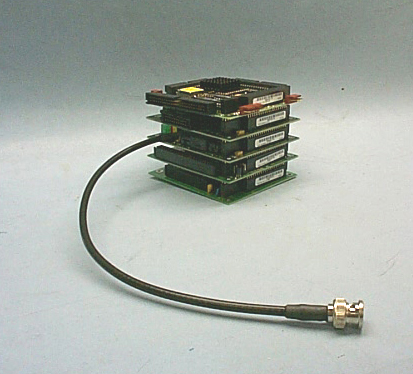 PC boards stacked together.
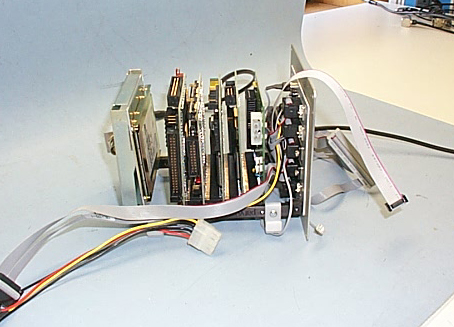 PC boards sitting in the frame casing.
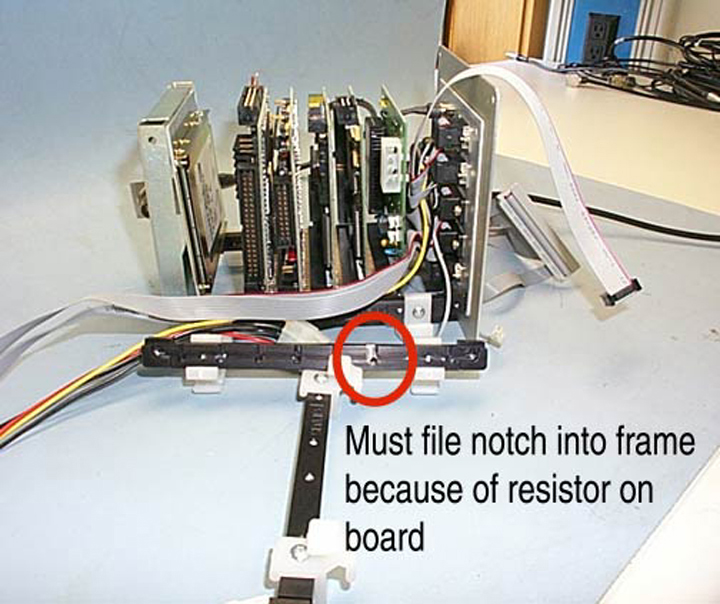 Showing a notch that must be filed out because of a resistor on the board.
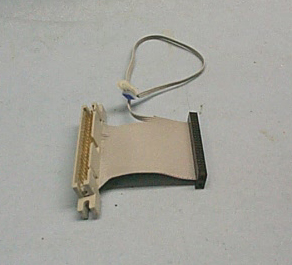 Cable that connects the flash drive to power and to the IDE cable.
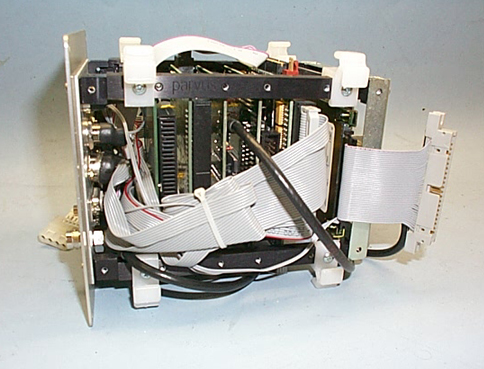 Showing how the boards fit together.
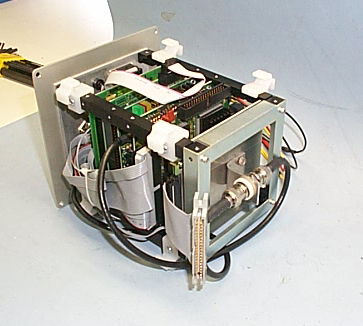 Another view of how the boards fit together.
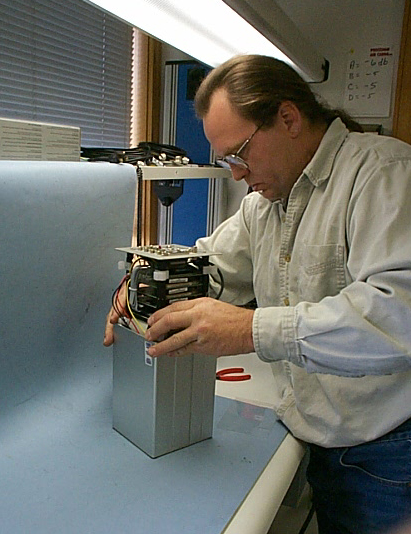 Warren Gallaher putting the frame casing into the box.
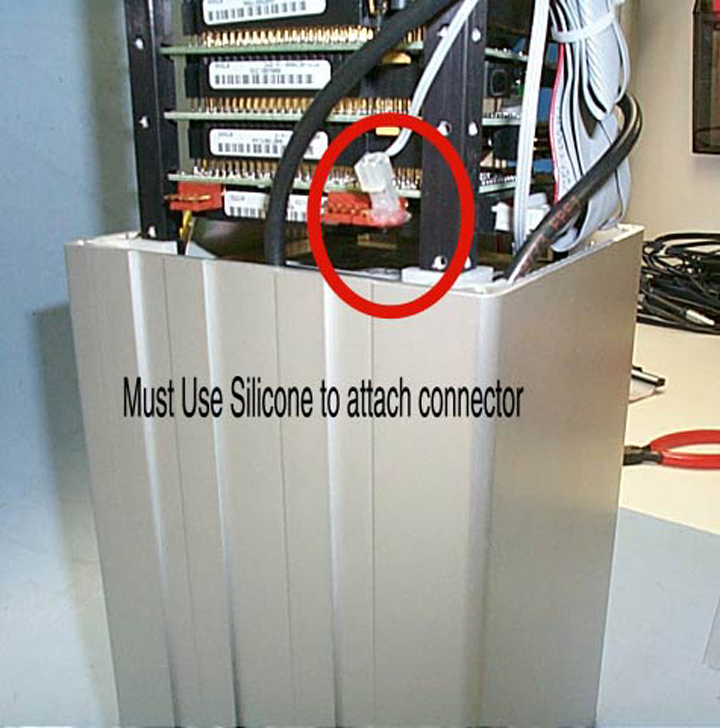 Showing that silicon must be used to attach the reset button connector.
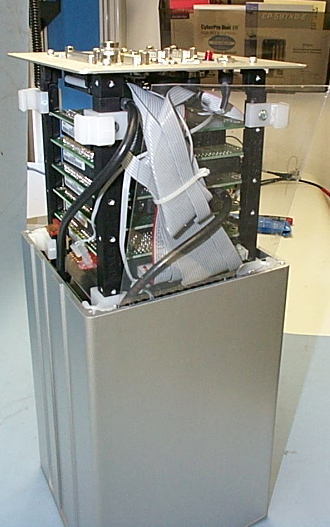 A piece of plastic film is used to prevent wires from getting tangled and torn while putting the frame casing into the box.
 The entire PC/104 system in its casing.
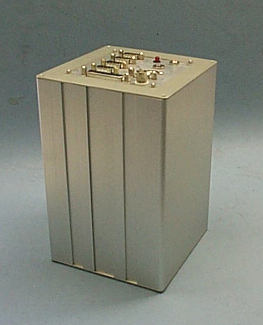 Another view of the PC/104 system in its casing.
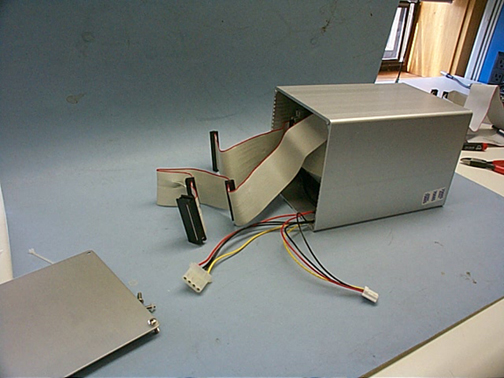 Showing how the back of the box comes off in order to connect the system to a floppy drive, a CD-rom, and connects the system to power.
Article ID: 447
Created: July 7, 2009
Last Updated: July 7, 2009
Author: Beth Bartel
Online URL: https://kb.unavco.org/article/pc-104-pictures-a-447.html