How to print posters on the HP plotter (internal)
Printing Posters on the HP Plotter
The plotter is 42 inches wide. Plan for a 1 inch margin on each side. Your document should be 40 inches by whatever other length/width you want. Remember to add 2 inches to your ’whatever length’ so that your document does not get cut off.
Adding the plotter to your list of printers:
Open the control panel and double-click printers and faxes.
Go to ’add a printer’. This opens a wizard.
Select ’network printer, or a printer attached to another computer’. Hit Next.
Either enter the name of the printer or browse for a printer, which should bring up a list of shared printers. Double click "KBOHND", select "Plotter", hit next.
Check "No" for setting this printer as your default printer. Finish installing the printer.
Printing your document:
The preferred method is to save the document as a pdf file. However, it is possible to print to the plotter directly from Power Point without saving the document as a pdf file, by still applying the scaling factor and following the rest of the directions given below.
Save your document as a pdf file.
Open your pdf file using Adobe Acrobat.
In Adobe Acrobat, go to File-->Print.
Select the plotter from the list.
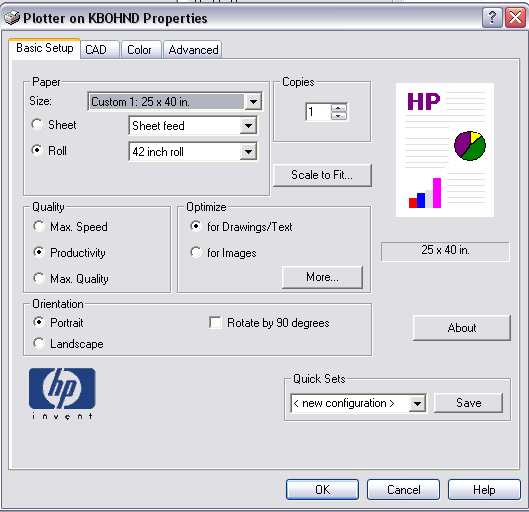
Select ’Properties’ - a window will appear that contains 4 tabs at the top, as below. 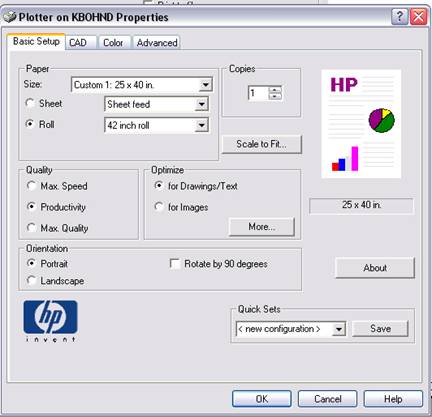
From this menu click on the side arrow for paper size, scroll to the bottom of the list and select "edit paper list". The following window will pop up: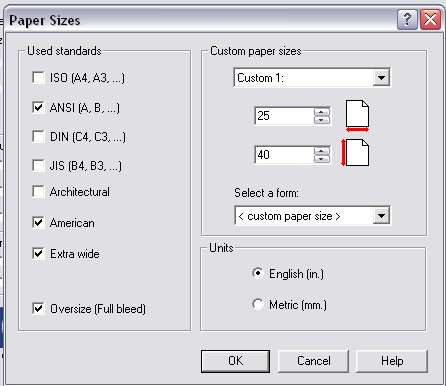
Enter the dimensions of your document. You do not need to figure out how to orient it because we will select the auto rotate option later. Hit OK. From the main menu, select "Scale to fit".
The following window will appear:
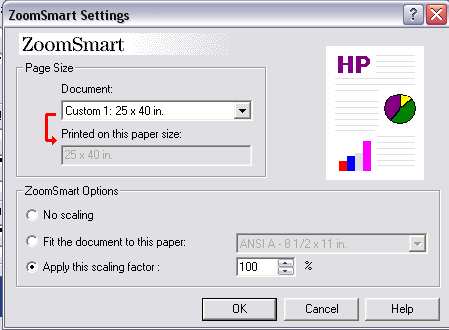
You will see that the paper size you entered is selected; now you need to select
"Apply this scaling factor: 100%" and hit OK.
From the main menu go to the fourth tab on the right (tabs are across top). You should see this menu and check the "Autorotate" button, hit ok. You are now ready to print.
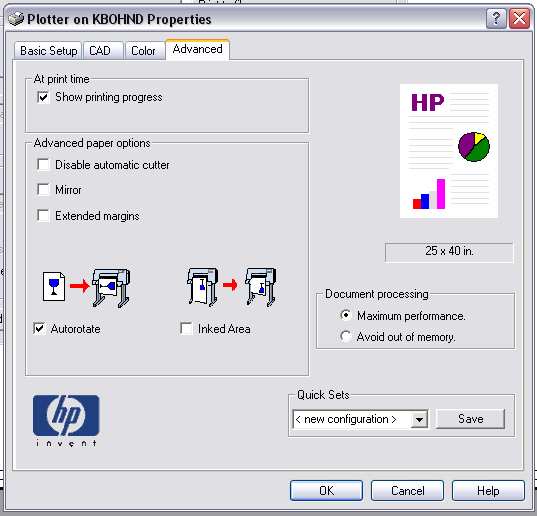
Make sure you have added 2 inches to the length and width so that your document doesn’t get cut off (e.g., 40 in x 36 in will be 42 in x 38 in).
Article ID: 308
Created: December 1, 2008
Last Updated: December 1, 2008
Author: Beth Bartel
Online URL: https://kb.unavco.org/article/how-to-print-posters-on-the-hp-plotter-internal-308.html